Facia sends a few emails for you: sign-in and password codes, and the 6-digit code for Get verified. They always go out under your business name. You choose the address they come from.
HQ → Settings → Email (page=email). Owners and admins.
#Three options
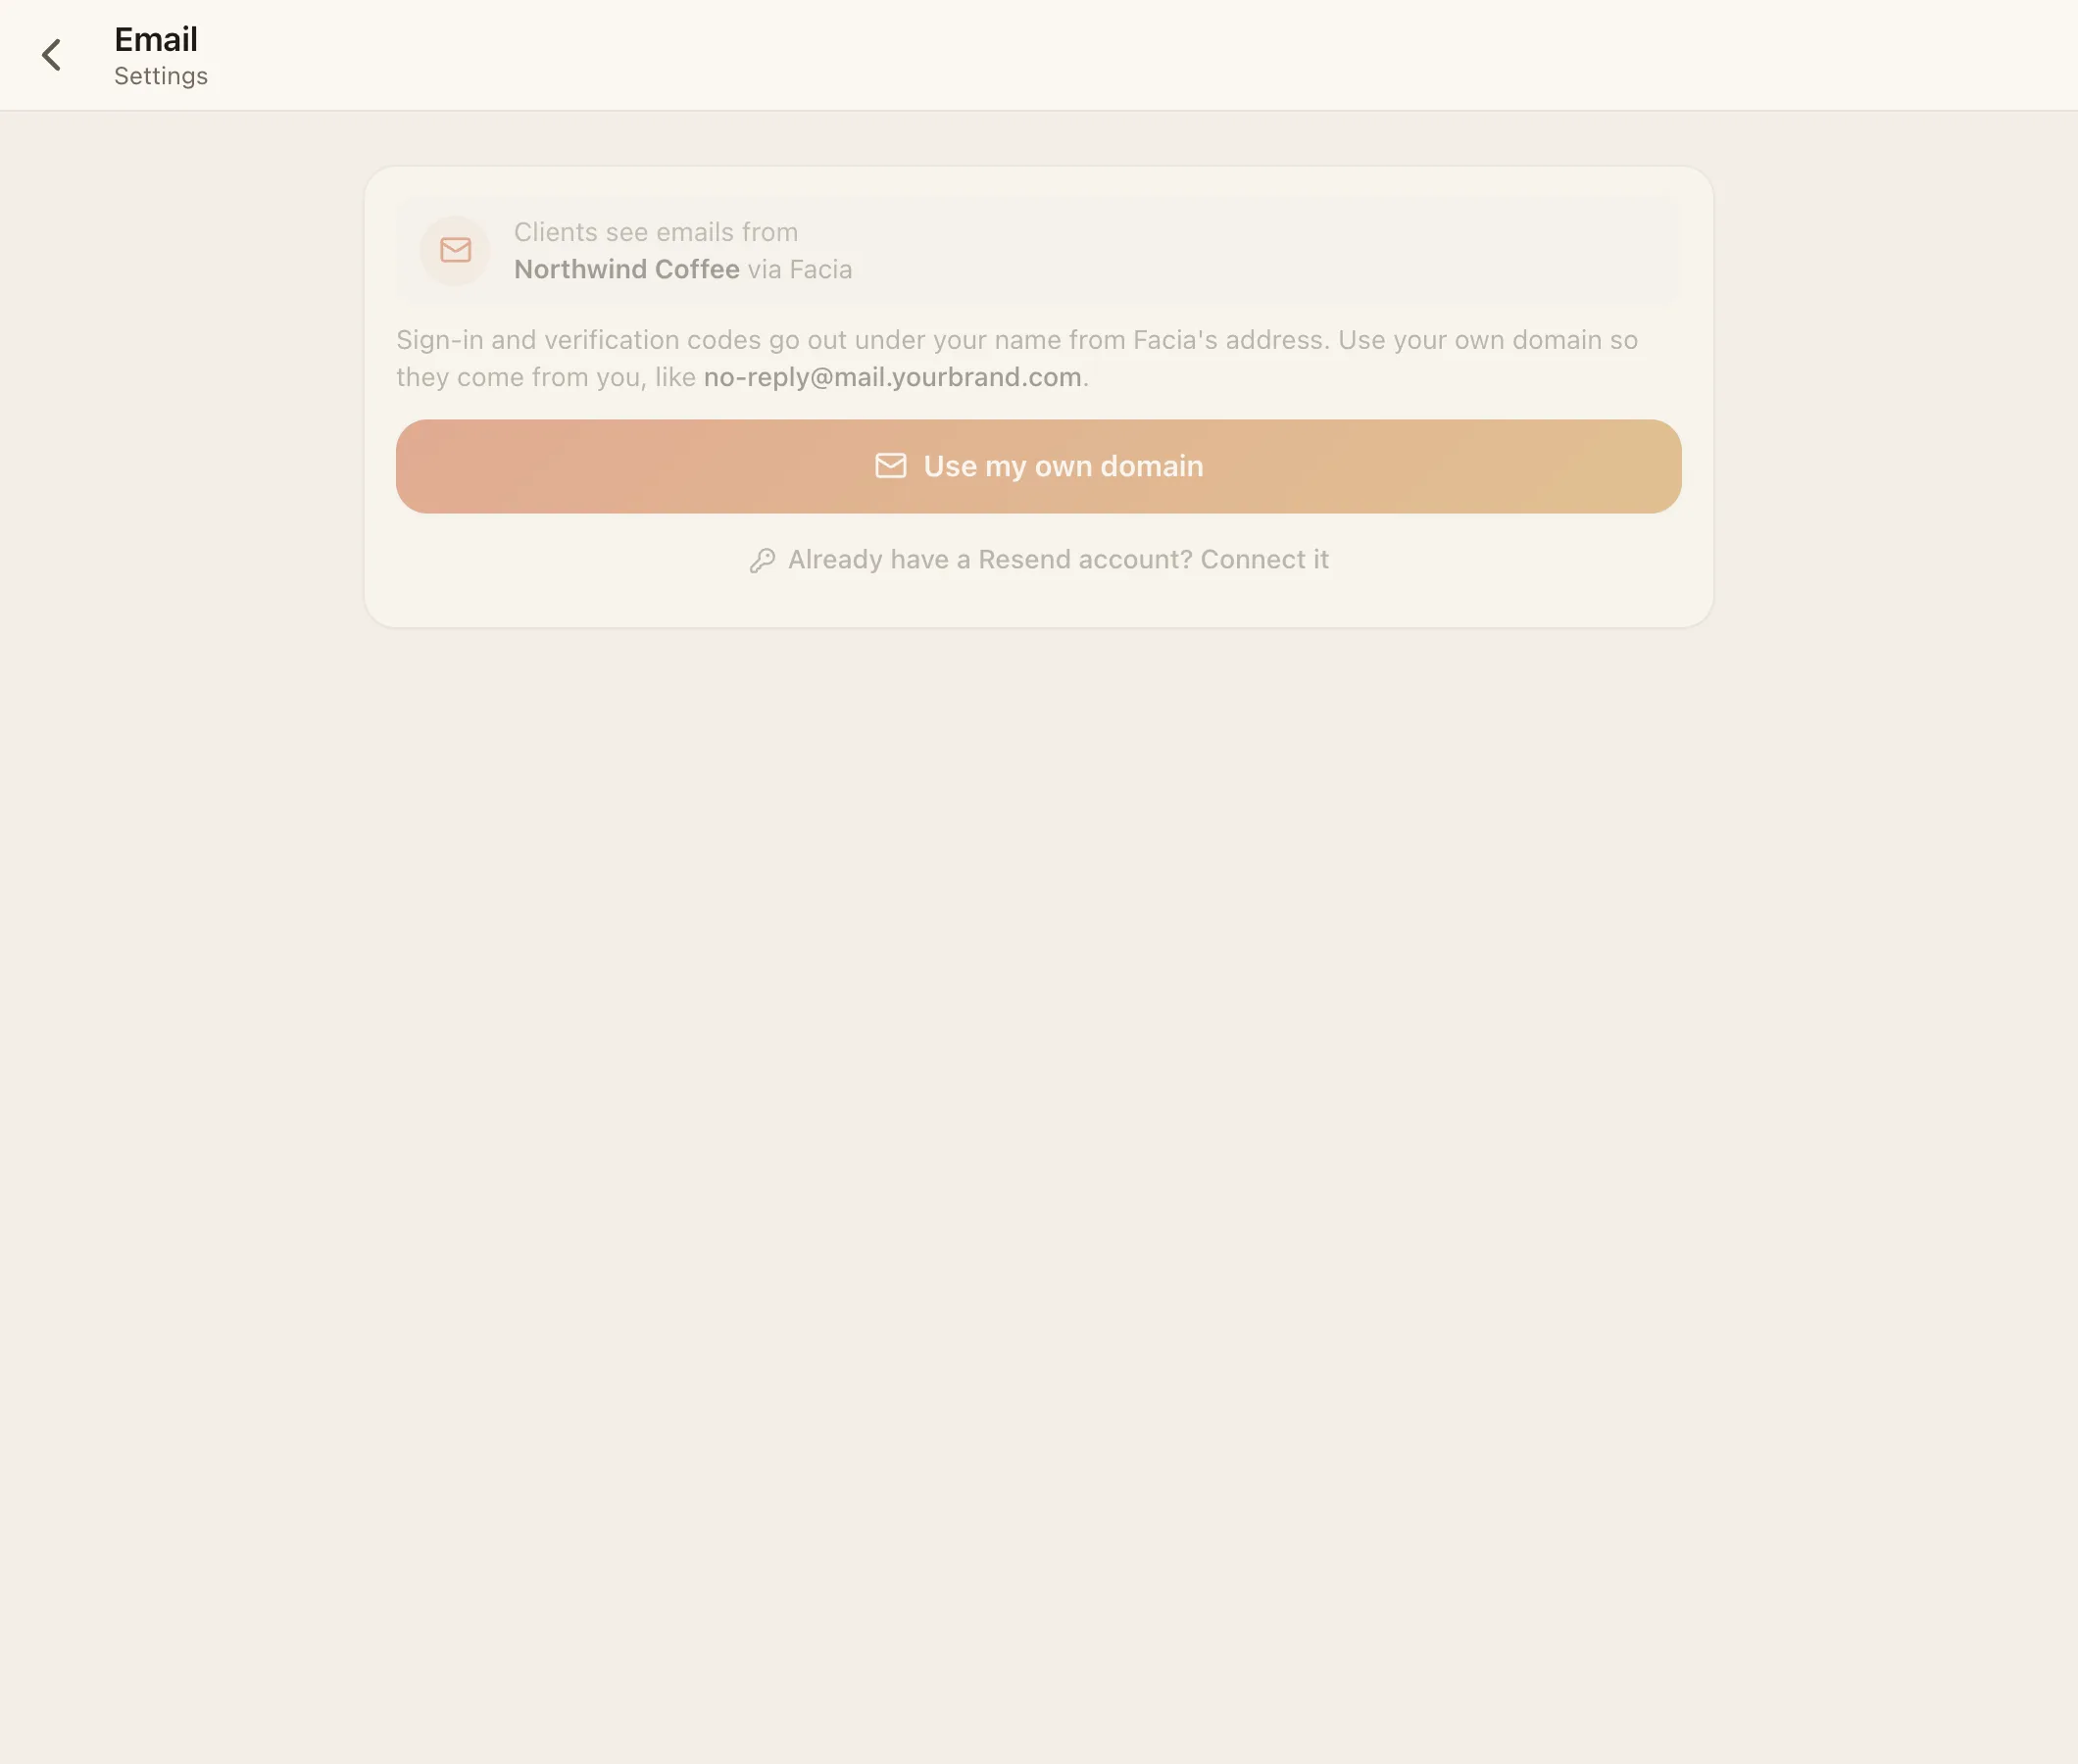
| Option | From address | You need |
|---|---|---|
| 1. Facia's address (default) | Facia's sending address, with your business name | Nothing |
| 2. Your own domain | e.g. no-reply@mail.yourbrand.com | Access to your domain's DNS |
| 3. Your own Resend account | Any address verified in your Resend account | A Resend account and API key |
If you set up both 2 and 3, your own Resend account wins.
#Option 2: your own domain
Facia sends through its own email service, but from your domain.
- HQ → Settings → Email → Use your own domain.
- Type a domain. We recommend a subdomain like
mail.yourbrand.com, so your main email (Google Workspace, Outlook…) isn't affected. - Facia shows the DNS records to add, each with a Name and Value you can copy. There are usually a few
TXTrecords (SPF, DKIM) and oneMXrecord. - Add them, either way:
- Add the records for me (Cloudflare only): paste a one-time Cloudflare API token, and Facia adds them for you. See below.
- Add them yourself: copy each Name and Value into your DNS provider.
- Press Check. Status goes from Waiting for DNS to Verified. DNS can take a few minutes, sometimes longer.
- Choose the address: the part before the
@, e.g.no-replyorsupport.
Your codes now come from your own domain. Remove goes back to Facia's address at any time.
#The one-time Cloudflare token
- In Cloudflare, go to My Profile → API Tokens → Create Token.
- Next to Edit zone DNS, choose Use template.
- Under Zone Resources, choose Include → Specific zone → yourbrand.com.
- Continue to summary → Create Token, and copy it.
- Paste it into Facia and press Add the records for me.
Facia uses it once to add the records, then forgets it. It's never stored. You can delete the token in Cloudflare straight afterwards.
#Option 3: your own Resend account
Send through your own Resend account. Your sending reputation and logs stay yours.
- In Resend, add and verify your domain under Domains.
- Go to API Keys → Create API Key, with permission Sending access. Copy the key (it starts with
re_). - In Facia: HQ → Settings → Email → Connect your Resend account.
- Fill in:
- Resend API key:
re_… - Send from: an address on a domain verified in your Resend account, e.g.
no-reply@mail.yourbrand.com - Send a test to: your own email
- Resend API key:
- Facia sends a test email first and only saves the key if the test goes through.
The key is stored encrypted, and only its last 4 characters are ever shown. Disconnect removes it.
#Troubleshooting
| Problem | Fix |
|---|---|
| "Records not found" | Make sure each Name is exactly as shown. Some providers add the domain to the name for you, so don't add it twice |
| Stuck on "Waiting for DNS" | Wait 10–30 minutes and press Check again |
| Test email fails (option 3) | The Send from domain must be verified in Resend, and the key needs Sending access |
| Emails land in spam | Use a subdomain just for sending, and make sure the DKIM and SPF records are verified |
| Facia's domain refused | Facia's own domains can't be used as your sending domain |